Install and Activate WordRake for Word and Outlook
Thank you for purchasing WordRake. Here's how to install/update WordRake, activate your new licenses, and start editing with WordRake.
Before You Begin
WordRake for Word and WordRake for Outlook operate independently, so you must download, install/update, and activate them separately.
You may install the programs in any order, but the license keys are not interchangeable. Each license key will work only for the specified program. Click here to jump to the installation instructions for WordRake for Outlook.
Start by installing WordRake for Microsoft Word:
1. To get started, close all documents and quit out of Microsoft Word.
2. Click the blue button (below) to download WordRake for Word.
3. Double-click the download "WordRakeInstall" file to begin installation.
4. Once installation is complete, open a Microsoft Word document and click on the WordRake tab above the ribbon.
/WR%20v5%20Ribbon%20WIN%20Word%20365_WR%20Tab.png?width=800&height=128&name=WR%20v5%20Ribbon%20WIN%20Word%20365_WR%20Tab.png)
5. To activate your license, click on the License button.

6. Earlier, you received an email from us. It includes your license key and you’ll need it to activate your license. The email should look like this:

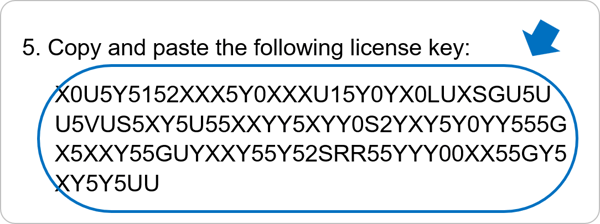
7. Refer back to your email for the license key and copy/paste the license key into the space provided. It should look like this:

NOTE: You have access to two WordRake products, so you have two license keys.
The first one is for WordRake for Microsoft Word.
(Can’t find it? Look for the long string of characters near the bottom of the earlier email. If you can’t find that email, please contact support and we’ll help you.)
/WR%20v5%20Ribbon%20WIN%20Word%20365_Brev%20or%20Simp.png?width=800&height=129&name=WR%20v5%20Ribbon%20WIN%20Word%20365_Brev%20or%20Simp.png)
9. Next, click the Rake button and watch WordRake analyze your document and suggest improvements./WR%20v5%20Ribbon%20WIN%20Word%20365_Rake%20Button.png?width=800&height=140&name=WR%20v5%20Ribbon%20WIN%20Word%20365_Rake%20Button.png)
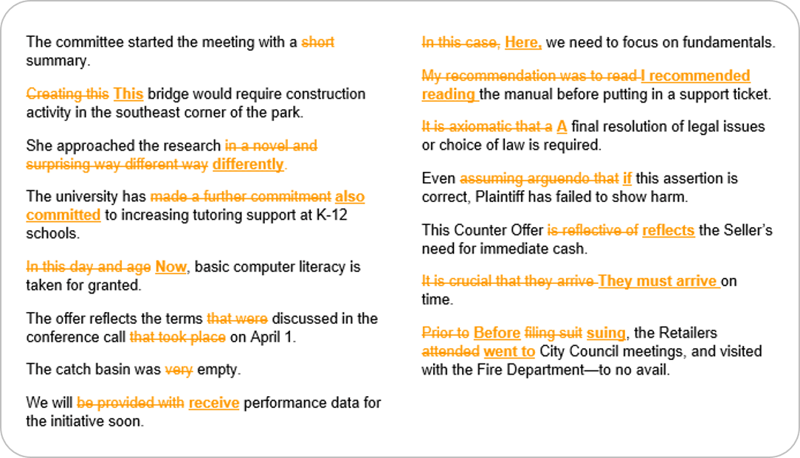
10. In under one minute, WordRake can make hundreds of editing suggestions that appear in the familiar track changes form. Your suggestions will look like this:

10. Use the WordRake Accept and Reject buttons to keep the edits you like.
/WR%20v5%20Ribbon%20WIN%20Word%20365_Accept%20Reject%20Next.png?width=800&height=140&name=WR%20v5%20Ribbon%20WIN%20Word%20365_Accept%20Reject%20Next.png)
Now install/update WordRake for Microsoft Outlook:
1. To get started, close all emails and quit out of Microsoft Outlook.
2. Click the orange button (below) to download WordRake for Outlook.

3. Double-click the download "WordRakeOutlookInstall" file to begin installation.
4. Once installation is complete, open Microsoft Outlook and either begin a new email or reply to an existing one.
5. The WordRake tab will be visible in your open email message. Click on the WordRake tab above the ribbon.
/WR%20v5%20Ribbon%20WIN%20Outlook%20365_WR%20Tab.png?width=800&height=278&name=WR%20v5%20Ribbon%20WIN%20Outlook%20365_WR%20Tab.png)
6. To activate your license, click on the License button at the far right of your message screen.


NOTE: Because you have two WordRake products, you will have two license keys.
The second one is for WordRake for Microsoft Outlook.
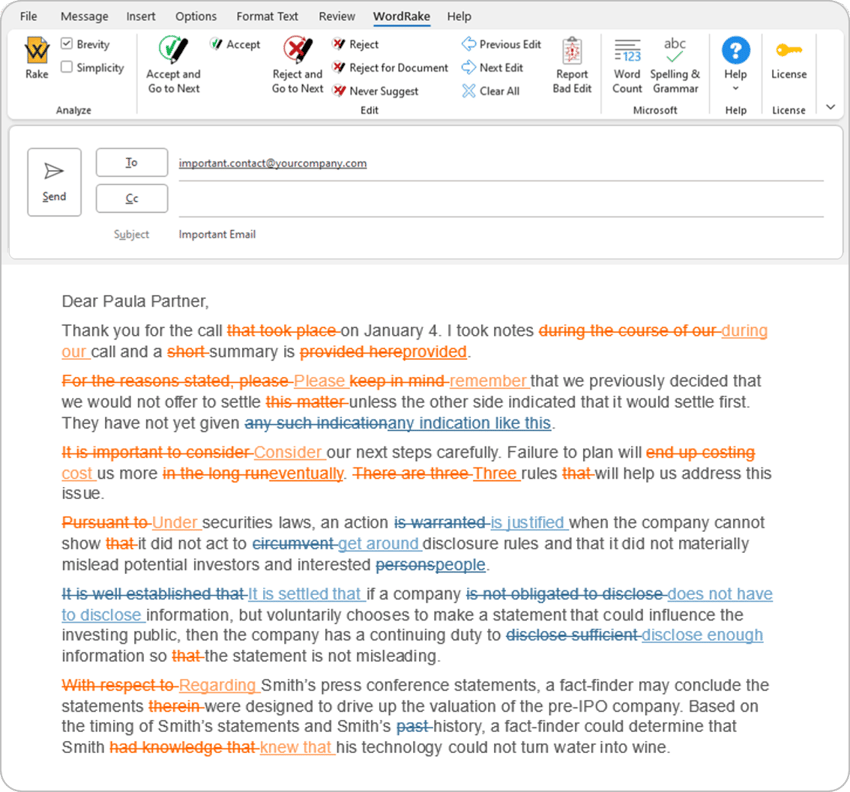
8. Follow the same steps as above to Rake an email. Your Raked email will look like this:

It’s that easy. Have questions? Please contact support and they'll be happy to help!
Additional User Resources
- WordRake FAQs
- Video Walkthrough of New Features in WordRake 5.0
- 15 Ways to Be a WordRake Power User
- Take a Tour of WordRake for Windows
- Take a Tour of WordRake for Outlook
- Simplicity Mode: Engaged
- WordRake Release Notes


